As the kids have gotten older, I have challenged them to be more creative:
- draw a picture of what they learn or a new experience
- make a list of what they didn’t know before a tour
- write out 5 new things they learned
- create a nature journal
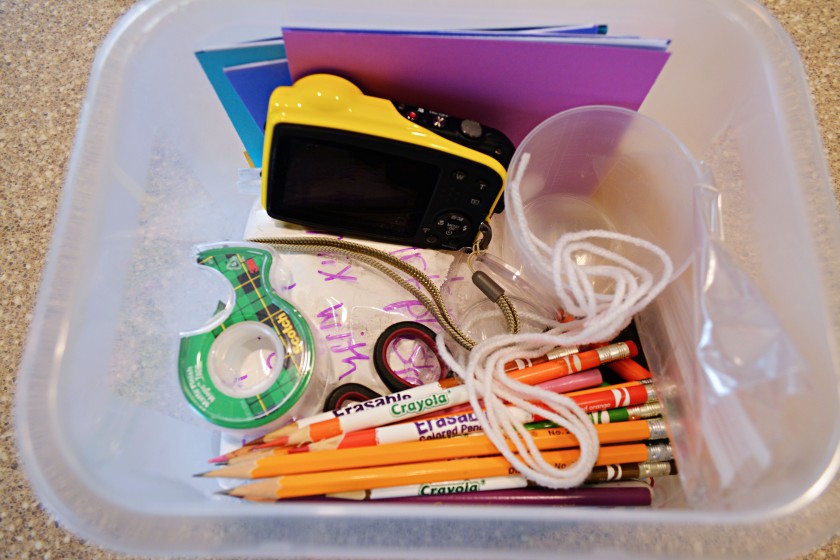
I soon realized we were often packing a bag of supplies and I thought why not keep a supply box in the car?

I am starting with Art Plaster!
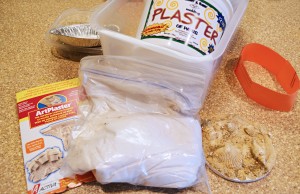
Now, before you think I am crazy, hear me out. I was at a garage sale and bought this whole big set of art plaster supplies from a veteran homeschool mom who told me how she and her children used to carry this plaster with them on hikes.
When they saw an animal print in the mud, they would mix up the plaster, set up a mold, and make a print.
They would go have a picnic or finish the hike and come back about 30 minutes later when the mold set up. I could tell from the teen’s expressions and comments that this was a memorable childhood experience with their mom.
WOW! I want that too! Here’s my plan for making that happen.
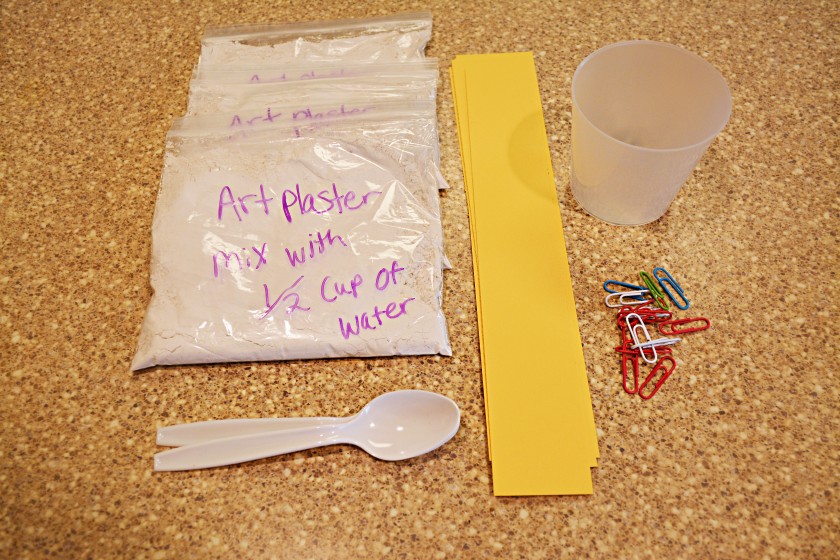
One Art Plaster Kit ready to go! It’s pretty simple and only took about 5 minutes. Here’s what is in my kit:
- Labeled plastic zip bags fill with pre-measured art plaster powder.
- Old measuring cup for water which needs to be mixed into powder when ready to use.
- Strips of cardstock and paper clips to make a mold.
How to do this on a hike: Mix 1/2 cup of water from your jug or the stream into the powder in the plastic bag. I just estimated and mixed by kneading the bag.
Use the cardstock strips to make a mold/frame (see orange cardstock in the first plaster picture) that is circle-shaped. Place the mold around the animal print in the mud.
Pour in the plaster mix and then just wait until it hardens, about 30 minutes later. A plastic grocery bag is handy to haul it home.

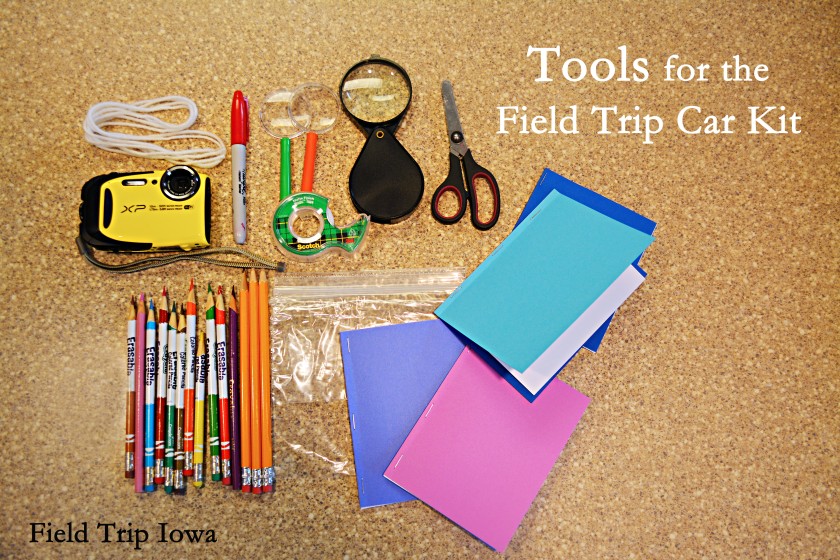
I added some other tools into our kit:
- Pencils, colored pencils (Crayons melt in a hot car), Sharpie marker, pencil sharpener.
- Tape, string, scissors.
- Plastic zip bags.
- Magnifying glasses, shockproof/waterproof digital camera. I won’t store this permanently in the car but we plan to use the new camera a lot this summer.
- Blank Notebooks – I made these by:
- folding a piece of cardstock lengthwise and cutting it in half
- cut blank white paper lengthwise and then in halves
- staple paper into the cardstock
- trim any excess

Has anyone else ever made a bag or box for the car? What do you keep in your Field Trip Tool Box?

- Click to share on Pinterest (Opens in new window)
- Click to share on Facebook (Opens in new window)
- Click to share on Twitter (Opens in new window)
- Click to email a link to a friend (Opens in new window)
- Click to share on LinkedIn (Opens in new window)
- Click to share on Pocket (Opens in new window)
- Click to share on Tumblr (Opens in new window)
- Click to print (Opens in new window)
- Click to share on Reddit (Opens in new window)
